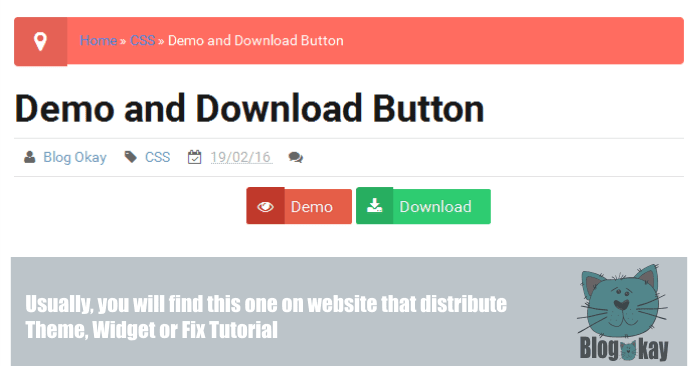
 Tonight, I would like to share about How To Make Demo and Download Button For Blogger. This button is really important to make your post design is prettier than other. Many Bloggers use this button for displaying external link on their posts. Usually, you will find this one on website that distribute Theme, Widget or Fix Tutorial. The reader will be easy to choose Demo Link or Download Link as a first click. For example : If your blog discuss about Theme or Widget tutorial the reader needs to see the result of your project before they apply it on their blog. After seeing the demo, they will decide it's good or not. That is really helpful for the visitors to apply it or not.
Style 1
First, you should add script Font awesome for your blog. If your blog has added Font Awesome script, let's follow the tutorial below. If you are not, please read my article How To Add and Use Font Awesome For Blogger.
Add the CSS below before ]]></b:skin> or </style>.
.buttonx{
float:left;
list-style:none;
text-align:center;
width: 100%;
margin:5px 0;
padding:0;
font-size:14px;
clear:both;
}

.buttonx ul {
margin:0;padding:0
}

.buttonx li{
display:inline;
margin:0;
padding:0
}

.demo {
border: none;border-radius:2px;
padding: 8px 19px !important;
background: #E55E48;
color: #fff !important;
text-align: center;
text-shadow: 0 0 1px rgba(0, 0, 0, 0.3);
transition: background-color .4s ease-out 0s;
}

.download {
border: none;border-radius:2px;
padding: 8px 19px !important;
background: #2ecc71;
color: #fff !important;
text-align: center;
text-shadow: 0 0 1px rgba(0, 0, 0, 0.3);
transition: background-color .4s ease-out 0s;
}

.demo:hover {
background: #454242;
text-decoration:none
}

.download:hover {
background: #454242;
text-decoration:none
}

.download:before {
content : "\f019";
font-family : FontAwesome;
font-weight : normal;
padding :11px 11px 9px !important;
background : #27ae60;
margin-left : -19px;
margin-right : 6px;
border-radius : 3px 0 0 3px;
font-size : 16px;
}

.demo:before {
content : "\f06e";
font-family : FontAwesome;
font-weight : normal;
padding : 11px 11px 9px !important;
background : #c0392b;
margin-left : -19px;
margin-right : 6px;
border-radius : 3px 0 0 3px;
font-size : 16px;
}
Next, put the code below on HTML Post (remember on HTML not Compose).
<div style="text-align: center;">
<ul class="buttonx">
<li><a class="demo" href="http://blogokay.com" target="_blank">Demo</a></li>
<li><a class="download" href="http://blogokay.com" target="_blank">Download</a></li>
</ul>
</div>
<div class="clear"></div>
In this tutorial I give two style of Demo and Download Button. You can choose which one is better for your blog design.
Style 2
In the same way, you should add the CSS below on your theme. Add the CSS below before ]]></b:skin> or </style>.
.button{float:left;list-style:none;text-align:center;width:95%;margin:10px; padding:2px;font-size:14px;clear:both;} .button ul {margin:0;padding:0} .button li{display:inline;margin:5px;padding:0;list-style:none;} .demo,.download {padding:12px 15px!important;color:#fff!important;font-weight:700;font-size:14px;font-family:'Open Sans',sans-serif;text-align:center;text-transform:uppercase;letter-spacing:0.5px;border-radius:3px;opacity:0.9;transition:all 0.3s ease-out;} .demo {background-color:#5a6269;} .download {background-color:#31aae9;} .demo:hover {background-color:#31aae9;color:#fff;opacity:1;} .download:hover {background-color:#5a6269;color:#fff;opacity:1;} .demo:before {content:'\f135';display:inline-block;font-weight:normal;vertical-align:top;margin-right:10px;width:16px;height:16px;line-height:24px;font-family:fontawesome;transition:all 0.5s ease-out;} .download:before {content:'\f019';display:inline-block;font-weight:normal;vertical-align:top;margin-right:10px;width:16px;height:16px;line-height:24px;font-family:fontawesome;transition:all 0.5s ease-out;}
Then, copy the code below and paste on HTML Post (remember on HTML not Compose).
<div style="text-align: center;">
<ul class="button">
<li><a class="demo" href="http://www.blogokay.com/" target="_blank" title='Demo'>Demo</a></li>
<li><a class="download" href="http://www.blogokay.blogspot.com/" target="_blank" title='Download'>Download</a></li>
</ul>
</div>
<div class="clear"></div>
For customize, it is simple and easy to apply. You can change the external link above with your external link (link destination). Now, your Demo and Download Button have added on your post.
Coment: